Castings
Although Vocalbums creation of castings for audiovisual productions tool is very intuitive, below we will see in detail each of the options as well as a step-by-step guide to create, edit and share your own castings.
How to create a casting?
To create a casting all you need is a "Business" account (create your Business account) and to log in to Vocalbums.
Then go to the castings section in your administration panel, click on the green "New casting " button and the form with all the casting configuration options will appear.
Configuration
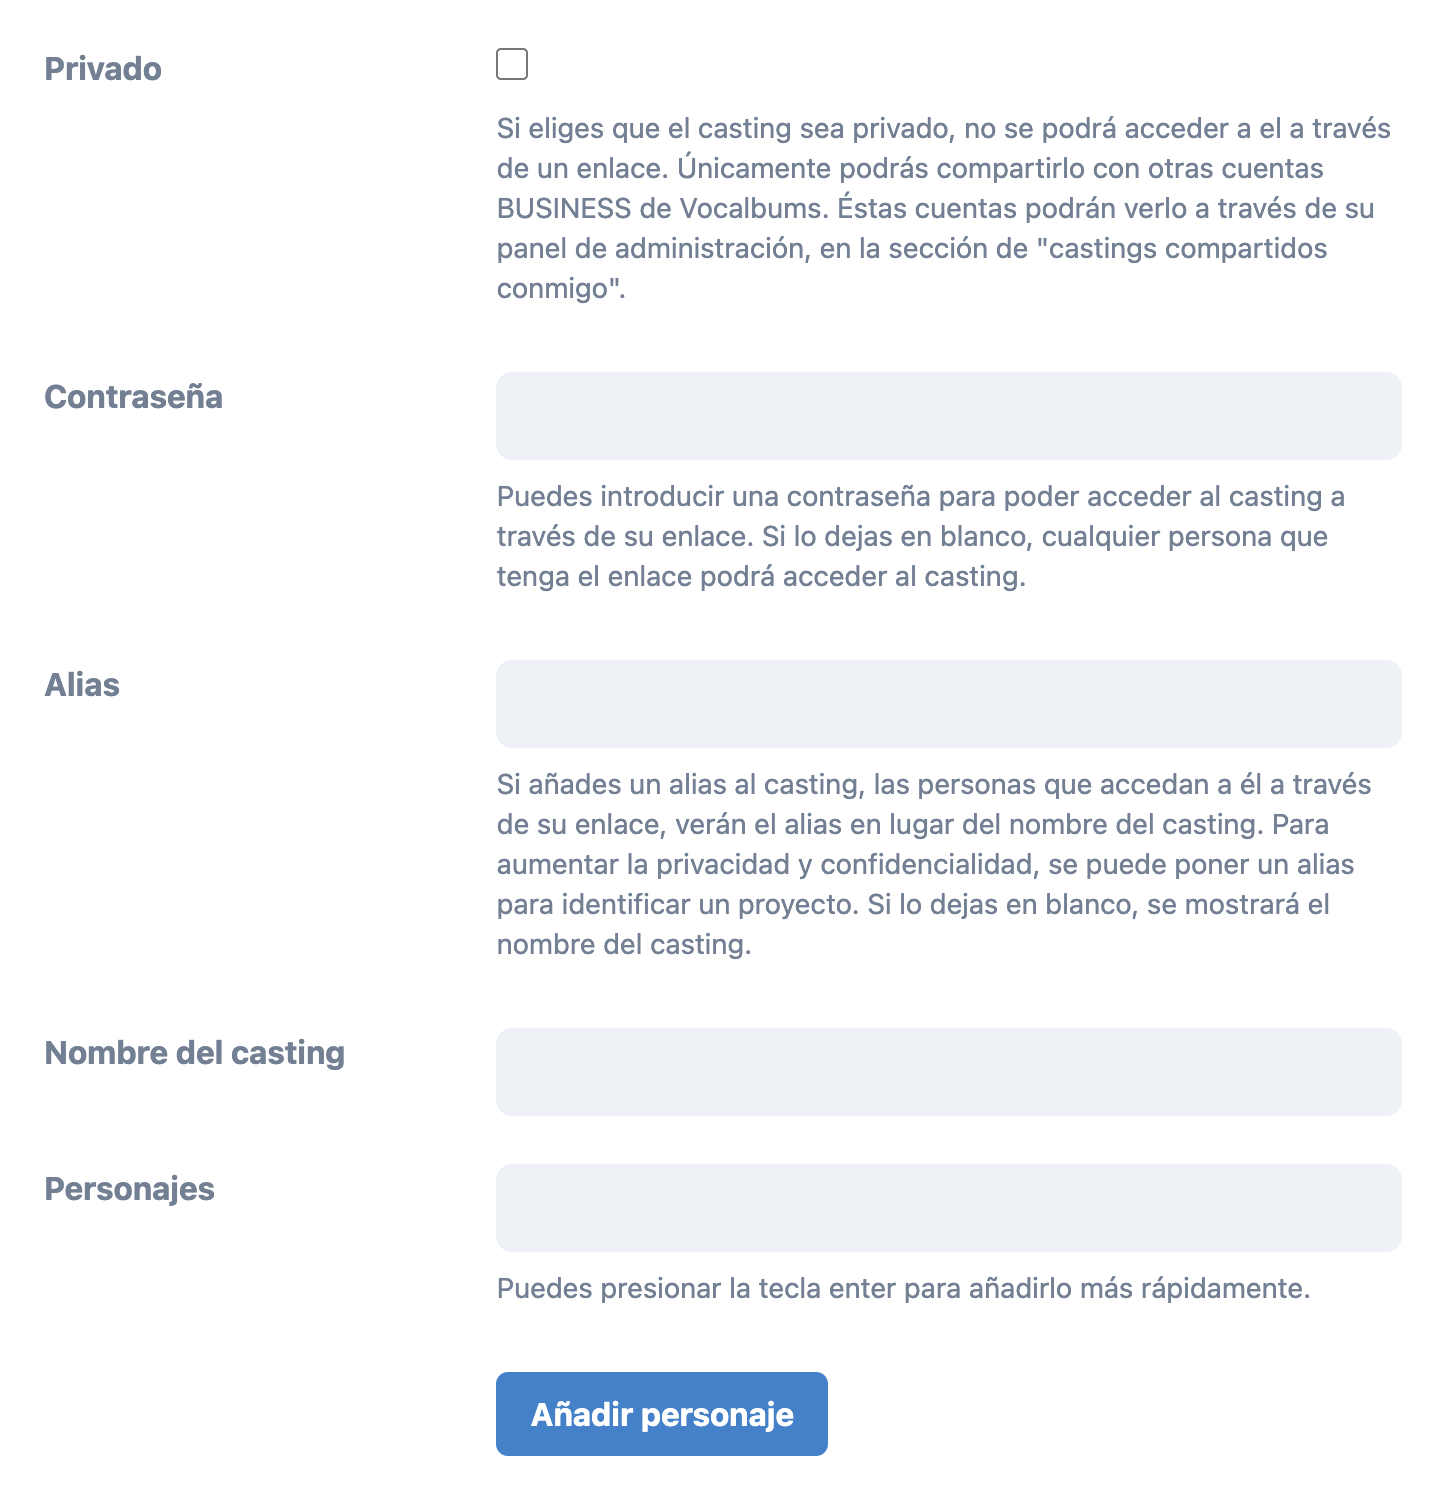
The casting creation and configuration form has the following options:
- Private: If we choose to make the casting private, no public link to the casting will be generated. No one will be able to see the casting publicly except those people (with access to a Vocalbums Business account) with whom you have explicitly shared the casting.
- Password: You can create a public casting but at the same time its public access is blocked by password. In this case, the person who wants to access the casting must have the link and the password. This option can be useful if you want to share the casting with people who do not have a Business account and you want to ensure that it can only be viewed with the password. Leave blank if you do not want to add a password.
- Alias: The alias is the name visible when we access the casting publicly (through the casting link). This option can be useful not to expose publicly the "real " name of the casting. If we leave this option blank, the name of the casting will be displayed.
- Casting name: This is the name of the casting that will appear in the administration panel. If we share the casting with other Business accounts, they will also see this name.
- Characters: In this option we can add all the interventions or characters we want to show in the casting. Once the casting is created, we will be able to add multiple artists within each intervention or character.
- Public registration (new): Enable this option so that artists can register to castings through your public link. This option can only be enabled if the casting is not private.
- Social Casting (new): Enable this option so that casting visitors can vote for the best voice. Casting visitors through your public link will be able to vote once per email account and casting. The votes received by each artist will be visible to everyone.
Configuration of the characters / interventions (new).
If we create a casting with the "Public registration" option disabled, we will only have to add the name of the characters or interventions to add them to the casting. If, on the contrary, we create a casting with the "Public registration" option enabled, we will have new configuration options for the available characters. Let's take a look at them:
- Character description: Briefly describe the character so that casting visitors who want to sign up can get an idea of the character or intervention and can better decide which one to register for.
- Voice type: Add the type of voice you want casting visitors who want to register for this character or appearance to have.
- Age range: Add the age range you want the casting visitors who want to register for this character or intervention to have.
- Gender: Add the gender you want the casting visitors who wish to register for this character or intervention to be.
- Preferences or requirements: The voice type, age range and gender entered above can be suggestions or requirements for registration. If you select "Preferences", artists will be able to register for the casting even if they do not meet the voice type, age range or gender entered, while if you select "Requirements", they will only be able to register if they meet the voice type, age range and gender entered.
Creation
Once configured, we can create the casting by clicking on the green button with the text "Create casting " that will appear in the upper right corner of the screen. Below you can see a GIF with the creation process step by step.
List of castings
Inside the castings section you will be able to see listed both the castings you have created and the ones that have been shared with you.
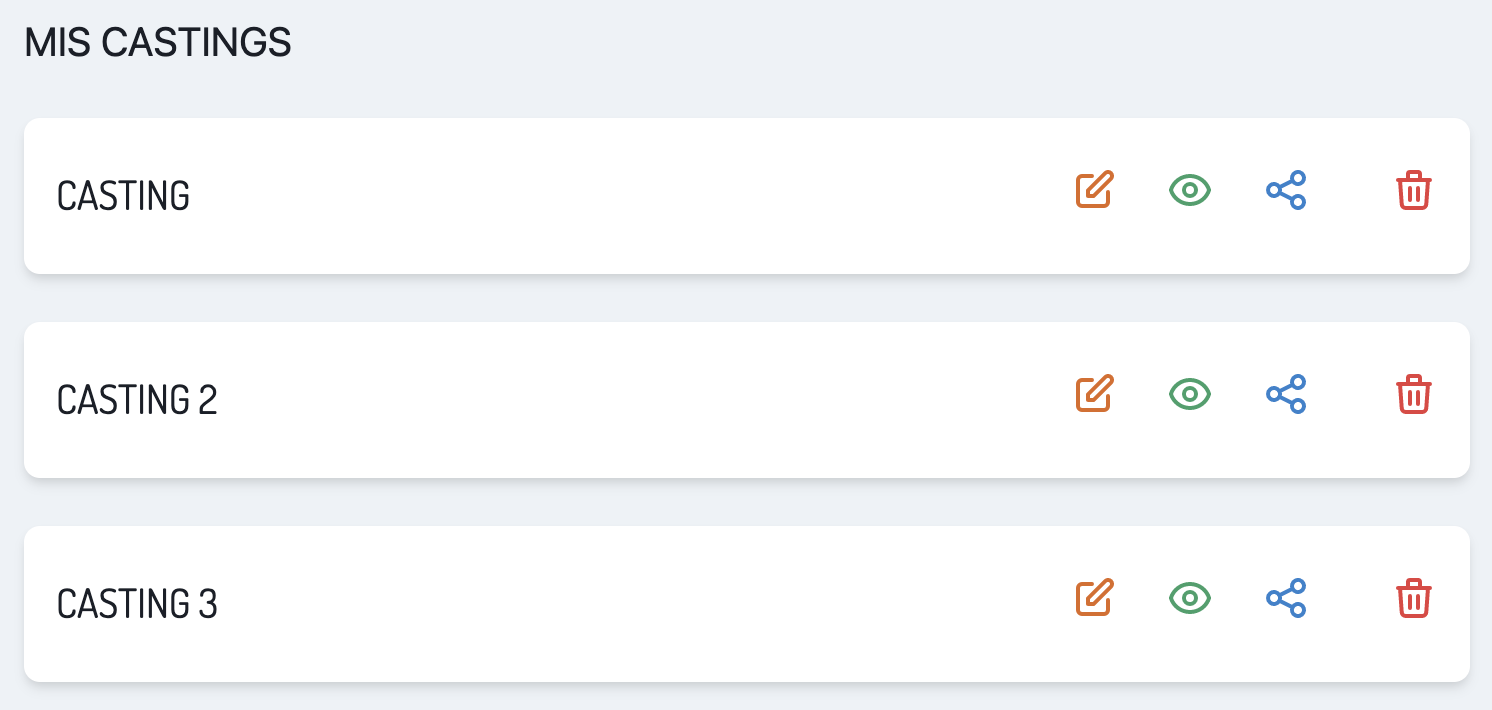
Casting options
EDIT
SEE
SHARE
CONTACT INFROMATION
EXPORT TO CSV
REMOVE
Edit casting
To edit a casting, click on the edit button and the casting configuration form we saw at the beginning of this document will appear. Once you have made the desired changes, click the green button in the upper right corner with the text "Save changes " and your changes will be saved.
View casting
By clicking on the button to view the casting, the view panel will appear. In the panel we will be able to see the history of casting changes ordered chronologically and the casting graph. In the casting graph we have the following options:
- Change orientation from portrait to landscape and vice versa.
- Activate and deactivate the fullscreen mode.
- Activate and deactivate the night mode.
Share casting
Clicking on the button to share the casting will bring up the panel with the available sharing options. Currently, you can share castings publicly (direct link to the casting) by email, whatsapp, telegram, facebook, linkedin and twitter. You can also share with another Business account and grant write permissions so they can edit it.
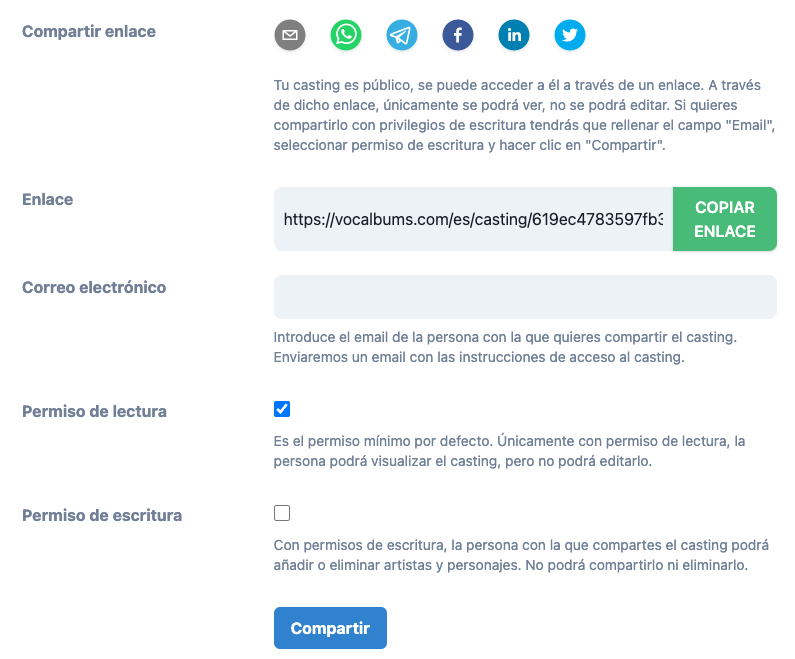
If you want to revoke or add write permissions or stop sharing a casting with another Business account, you can do it through the "Share casting " panel.
Contact details
Click this button to get the contact details of the casting participants. Podrás ver el correo electrónico y el numero de teléfono de los participantes, así como enviarles una notificación interna de contacto.
Export casting to CSV
Export your casting to CSV with all the relevant data of each of the characters or interventions and their proposed artists by clicking on the green export button.
Remove casting
Deleting a casting is as easy as clicking the red delete button. The interface will ask us if we really want to delete the casting, we accept and that's it.
Adding voice professionals to the castings
So far we have learned how to create a casting and to understand each of the options available in the castings section and in each of the panels of this section. Now we are going to learn how to add voice professionals to our castings and for this, we have two options:
Adding voice professionals to a casting that are part of Vocalbums.
If the artists you want to add to the casting are part of Vocalbums, you can add them through the search page for Business accounts. From the search page you can apply any filters you wish to find the voice professional best suited for each of the performances in your casting.
Once you have found the artist you want to add to the casting, do the following:
- Click on the blue button "Add to casting ".
- Select the casting.
- Listen to the voice samples of the professional and select the ones you want to add to the casting.
- Select the character or performance** you want the artist to participate in.
Adding voice professionals who are NOT part of Vocalbums to a casting
To add a voice professional who does not have a Vocalbums profile to a casting, you can do it manually through the Outsiders section. If you want more information about how it works take a look at the documentation for the Outsiders section. The process to add an Outsider to a casting is exactly the same as we have seen in the previous heading.
Still have questions?
If you still have questions about casting and how it works, feel free to contact us.